|
|
|
 |
How to Distribute water In a drip irrigation system
Distributing the Water
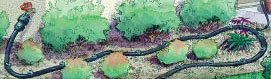
Now that you have selected a way to connect your drip irrigation application to a water source, it is time to roll out the hose and lay down a path for the water to travel to your plants. Three simple steps is all it takes to distribute the water.
Roll Out the Hose
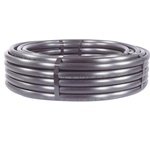
After connecting to your water source, unroll hose or dripline. Position the hose in your garden or flowerbed.
Roll Out the Hose
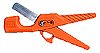
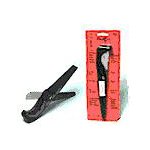
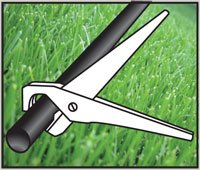
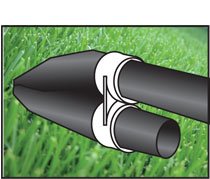
Now that you have laid out your hose, double check to make sure layout is correct and you are satisfied with the length. Use Poly Pipe Cutters to make clean precise cuts.
Roll Out the Hose
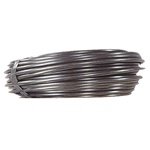
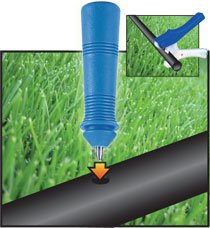
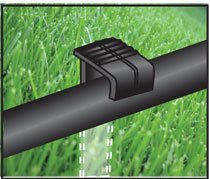
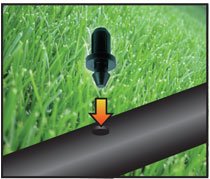
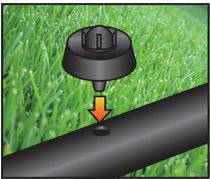
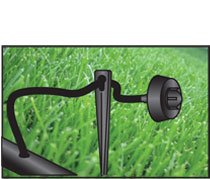
Using a punch tool, make a hole in the 1/2" hose wherever you want to place an emitter or a 1/4" barbed fitting for connection to distribution tubing. If you punch a hole in the wrong spot, you can seal it using a goof plug. Use 1/2" tubing stakes to secure the 1/2" tubing to the ground. Use 1/4" fittings to snap directly into the holes created in the 1/2" tubing to connect 1/4" distribution tubing. This type of connection can be used to reach individual plants.
NOTE: Make sure to flush out any debris before closing the line with a 1/2" hose end.
|
|
|
|
Copyright © 2010 IrrigationRepair.com - All Rights Reserved |
|